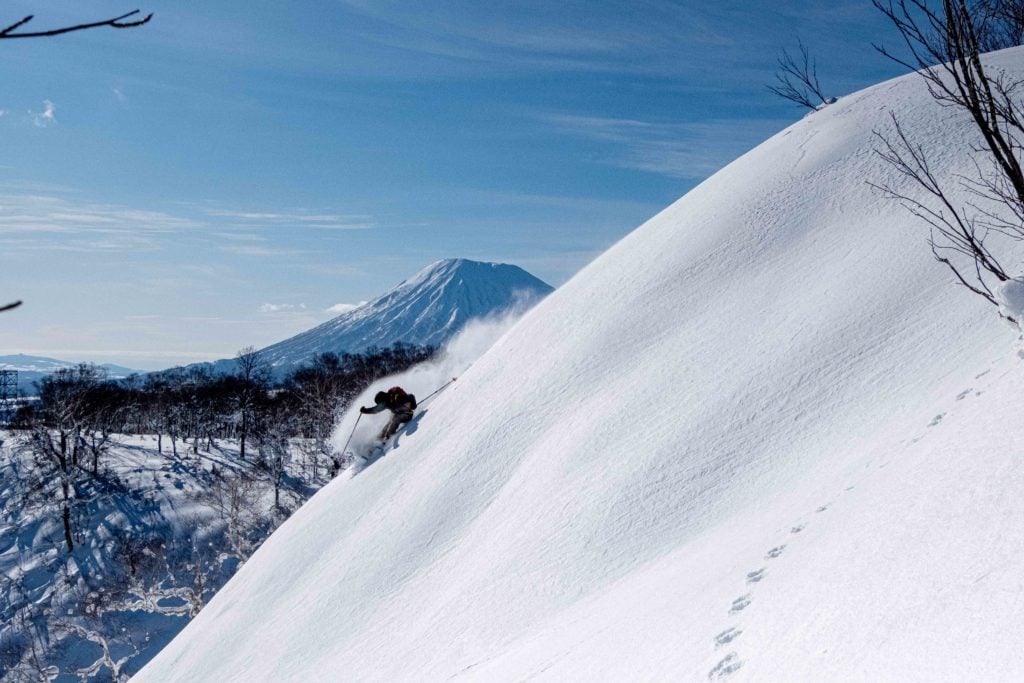
Ski Touring . . . what’s the big deal anyway!? It looks tiring . . . the snow might not be that good . . . the gear can seem expensive . . . .and there are so many pieces of equipment needed that I don’t know where to start! Today we’ll help you pack your bag so you can be on the front foot next time you head into the backcountry.
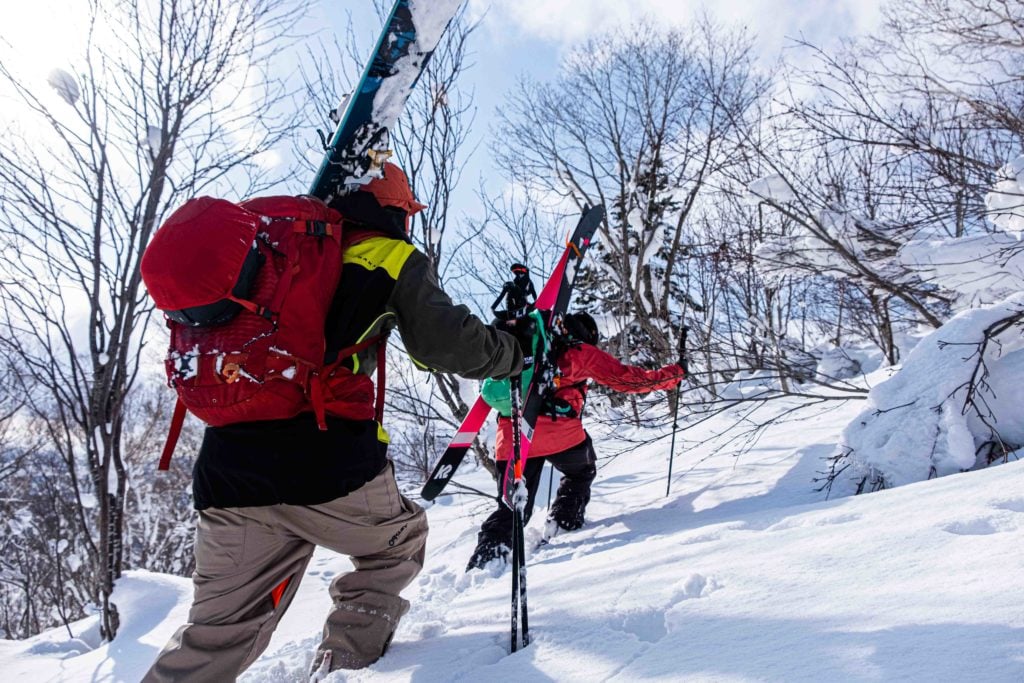
The climb isn’t as bad as you think
The reality is that ascending (climbing uphill) isn’t as hard as you’d expect, thanks to advances in ski touring and splitboarding equipment over the past 15 or so years. For one, you no longer have to carry your skis/snowboard on your back, which comes as a huge relief for first time backcountry tourists. Setups are now lighter and easier to use, making the ascents easier for beginners and experts alike. For skiers who are concerned about energy expenditure (or if you’re friends are way fitter than you and you need an advantage) we suggest going for a lightweight techpoint boot/binding set up, while for snowboarders we suggest a split board.
The other big tip we have for making it easier is don’t go straight up the mountain! You’ll generally conserve energy by taking a line that is less steep, even if it increases the overall distance. Another tip to keep you moving is to eat and drink water often, so make sure you can eat on the move without stopping the group (i.e food in the pocket). Once you start forming touring habits you’ll be surprised how easy it becomes to climb mountains and shred epic descents in the backcountry!

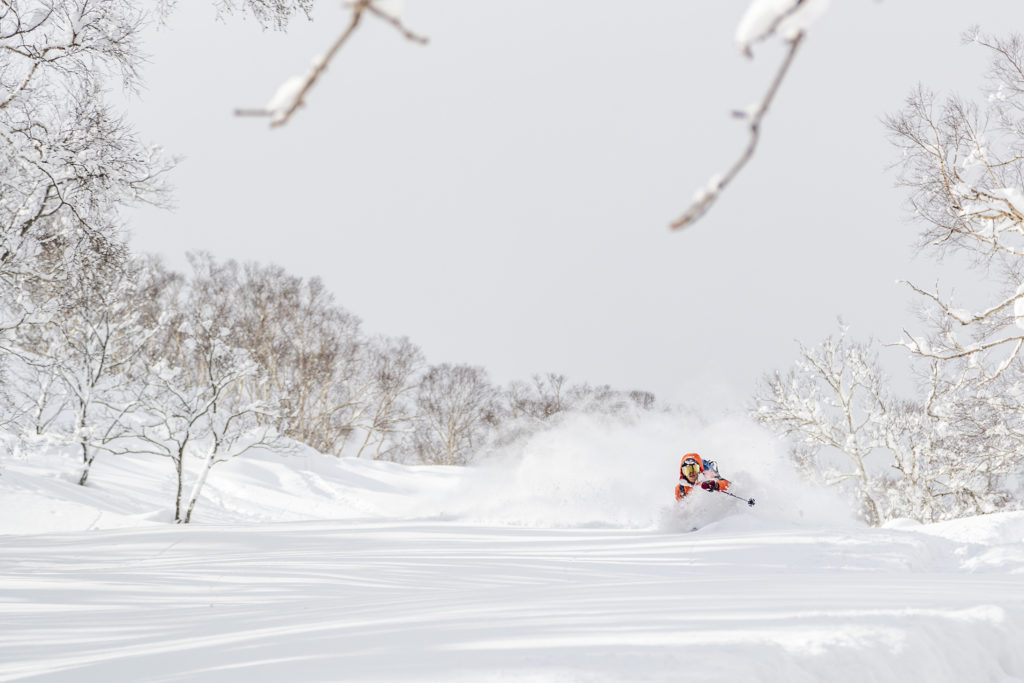
The snow might not be that good
But. . . it might also be incredible! Sometimes you just have to take an educated guess and go for it, as if you don’t go, you won’t know. Bad day skiing? Still beats a regular day for most of us when we’re off the mountain!
The gear seems expensive
Like all good things in life backcountry equipment certainly isn’t cheap, especially split boards and tech point ski touring set ups. However the good news is that you are going to save hundreds (if not thousands) of dollars on lift tickets, so get ready to save money in the long term.
I don’t know where to go
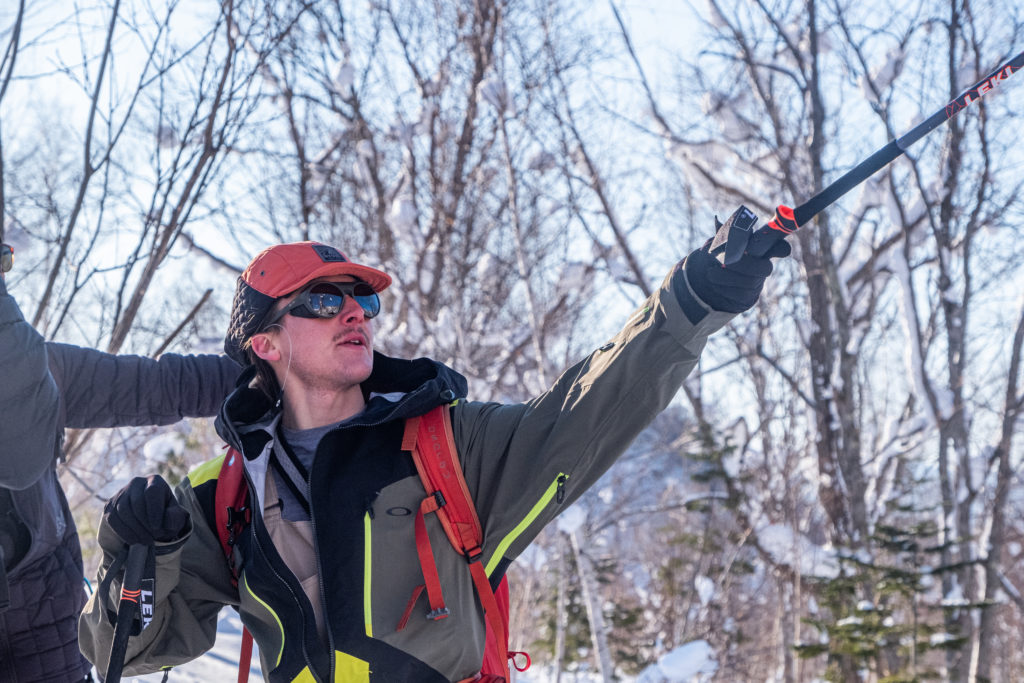
It might feel daunting at first when do you don’t have any backcountry friends, but once you make that first connection to the backcountry community you will then meet exponential amounts of likeminded individuals who may be kind enough to show you the way. If you still don’t have a group to ski tour with or if your group doesn’t know the area and its hazards well, we strongly suggest you hire a local guide with the appropriate qualifications for their region. Not only are guides great in terms of safety, but also they help you get the best skiing for your effort as they always know where the best snow is.
I don’t know what to take
Ok this is where we can really help! Your backpack is the business end of any backcountry adventure and you don’t want to take too little or too much, so here’s what we’re taking with us on a 5 hour ski mission up Mt Yotei in Spring. What you may need in your region will vary depending on local weather and hazards that exist in your area.
Backpack
When choosing a bag it is important to consider your optimal size, as if you go too big your just wasting space and if you go too small and you’ll be forever playing backpack tetris. For a Yotei daytrip we’re taking something around 28L liters providing ample space without being too bulky.
Another important consideration is whether or not you want to go for an ABS (airbag) system. The downside of the abs system is the weight, however when traveling in avalanche terrain many riders will agree that this added weight (and big cash outlay) is well worth it.
Avalanche Gear
Probe, shovel, beacon. Need we say more? The sooner you invest in your own avalanche equipment, the more familiar you will become with it. Remember the most effective avalanche beacon on the market is the one that YOU know how to use properly, and just because you have the most advanced avalanche equipment doesn’t mean it will be any easier to operate. Always carry your avy gear, and practice using it regularly!
Down or Synthetic Midlayer
You never know when the temperature will drastically drop in the mountains, so it’s important to have a mid-layer on hand that delivers serious warmth in times of need. Whether you’re a fan of duck down or synthetic filled insulation, hood or no hood, the most important thing is that you have something that is extremely warm when worn under a jacket.
Spare Merino or Synthetic Baselayer
The saying “sweat kills” may sound a little dramatic but the reality is that if you ever sweat so much that your baselayers soak through and cannot dry out, you will eventually freeze in the mountains. The good news is that all is not lost if you’re baselayer soaks through and fails to dry, as you can replace it with one from your backpack! Also be sure to avoid wearing cotton and other non technical materials, as they tend to become extremely cold when wet.
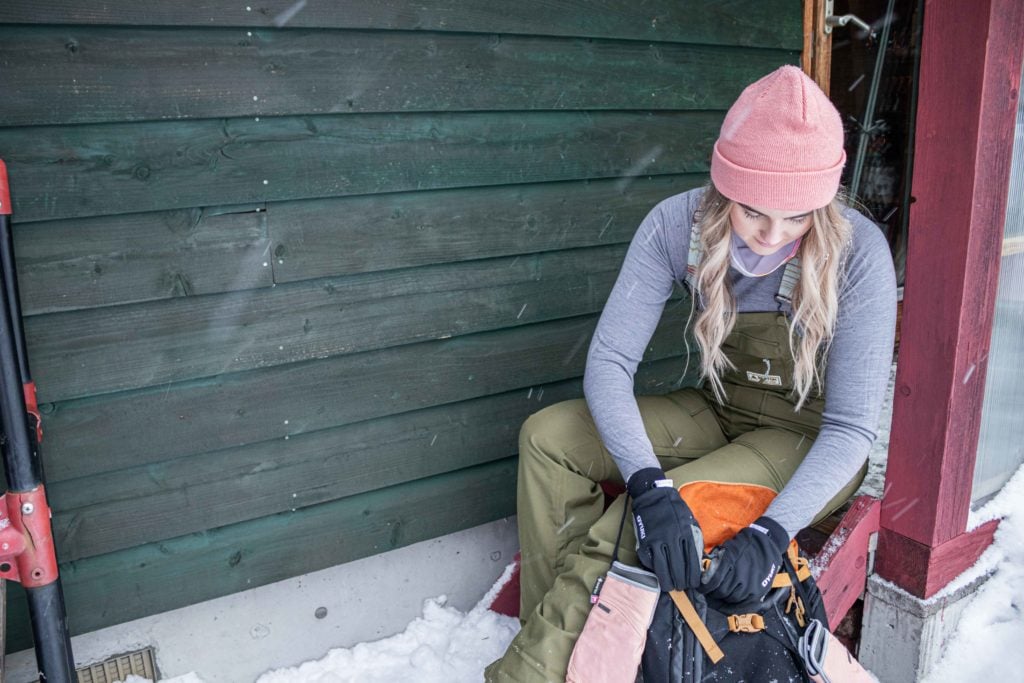
Spare Gloves or Mitts
Wet hands can equal a day ruined in the backcountry, so always keep a spare pair of gloves/mitts on hand. I always carry a mitt that is extremely warm and weather proof (something with GORE-TEX waterproofing), and when the conditions get really tough out there you know they will warm your hands back up and keep them dry.
Tip: avoid getting your gloves wet when touring by actively managing your body heat and use liners (instead of gloves) while ascending at lower altitudes, otherwise your sweat will soak the lining of the glove before you even get to put a turn in.

Spare Goggles
The more blower the snow, the easier it is to find a way inside your goggles when you take a crash! Be prepared for big snow blunders with a spare pair of goggles, and also be sure to have both lenses covered (one for sunny conditions and one for overcast) as you never know when the conditions will change.
Sunglasses & Sunscreen
Although the sun may seem distant and weak in winter and spring time, the snows reflection is not to be underestimated! On the ascent you will not be able to wear your goggles (it gets too hot and they will most likely fog up), so we recommend always having a good pair of polarized sunglasses in your backpack to keep your eyes from being sizzled.
Helmet
For the backcountry we’re taking something that is light and comfortable, features MIPS technology and has adjustable vents for better temperature regulation.
Cap, Spare Balaclava & Neck Warmer
There’s nothing worse than only having a beanie to wear when the sun starts delivering serious heat, so make sure you’re ready for the warmer temperatures even if it seems like it will be a cold day. It’s also important to have a spare balaclava or other facemask on hand for when extreme cold causes your facemask to freeze, as even in Springtime conditions can be surprisingly harsh at higher altitudes!
Snacks/Lunch
Whatever you’re packing for lunch just be sure you don’t forget it!
Phone Charger/Battery Pack
Our phones are great but their battery life generally is not…. which is why it’s helpful to have a battery pack on hand IF you are reliant on your phone in an emergency.
Headlamp
You never know when you’ll be out past dark, don’t forget the spare batteries.
First Aid Kit, Emergency Blanket, Emergency Shelter, Rescue Rope
Remember all this stuff adds weight to your backpack. Generally you will only use one of each item in an emergency (between your group), so find out what your crew is comfortable with and share the load. For the first aid kit don’t forget the stuff for the blisters, they seem to have a habit of popping up on ski touring adventures!
Crampons or Ice Axe (Alpine Only)
When in the alpine (above the tree line) there’s a high chance you’ll encounter ice, so it’s best to be prepared just in case. For most missions around Hokkaido we’re comfortable taking either ski/split board crampons (they attach to your bindings and help with grip issues when ascending) or ski boot crampons, which offer superior grip when boot packing.
So there you have it, that’s what we’re taking with us on our day trip up Mount Yotei. Although this list works for us, we encourage you to carefully consider what you might need on your adventures and rely on this as a suggestion only. As having the right gear is only one part of the equation, we encourage you to spend as much time as you can talking with experienced ski tourists, guides, avalanche forecasters and other experts to learn more about how to make the most out of your time in the backcountry and how to stay safe while doing it.